Throughout my college life, I’ve been shaving my legs and underarm simply because that is the most affordable and efficient way. I tried waxing but it can get messy or expensive if you use strips. Over time, I found shaving made my skin quite dry and I have to do that pretty much every second day, so I reached for the tweezers and started tweezing away – my legs and my underarm was hair-free for at least a week and hair grows back thinner (not to mention much less irritating). But I was looking for a way out.
After I started working I saved up some money for IPL hair removal treatments. I focused on underarm and bikini line. I had 5-6 sessions done of both areas and they can get quite painful. The results were very good and quite long-lasting, but within 2 years, I still have about 20% of the hair come back. However, I don’t have the time to go to a therapist to have it done again and I was looking for a cheaper alternative that is more convenient.
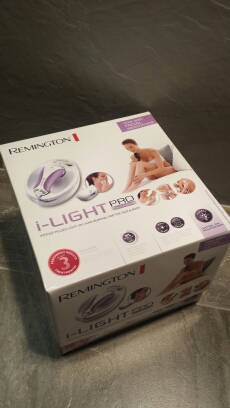
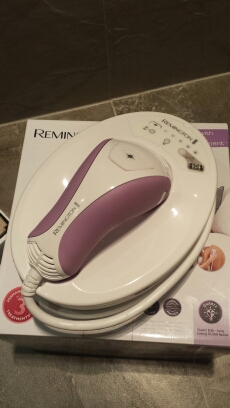
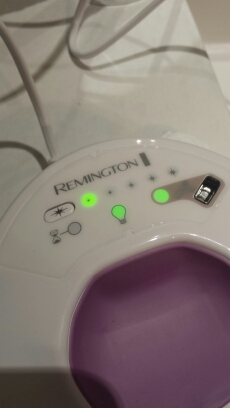
I hopped to the chance to try this Remington I-Light Pro out (Pro+ is the latest model that will be replacing the Pro. More details at the end of the post) when I was offered for a trial. This is a at-home laser hair removal machine that you use every 2 weeks. The recommended treatment is 3 for each area which mean you should expect results in 4-6 weeks.
Here are a couple of the Remington I-Light Pro features:
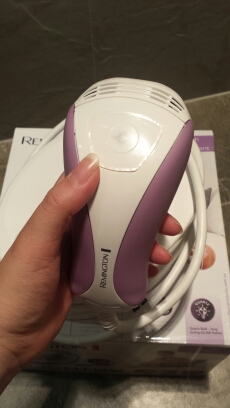
- 2 attachement heads – larger one for the body, and a smaller one for the face.
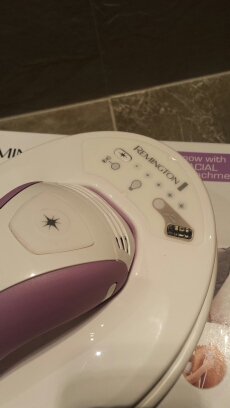
- 5 strengths – for different skin tone and hair colour.
- Skin tone test – a special window on the machine to quickly test if your skin tone is suitable for using the machine.
- Ready beep tone – once the machine is ready for the next flash, the machine beeps.
Here is how to use the machine:
- Clean and shave the area to be treated. I actually recommend treating one area at a time especially the leg area because your hand will get tired. It is not recommended to wax or tweeze the hair before treatment as the laser works by treating the hair follicle.
- Test the back of your hand on the test window of the machine. If it blinks green, you are good to go.
- Select the strength. I opted for 3 lights to start with because I have medium yellow undertone skin and black hair. I find that I can go up to level 4, but level 5 is a little painful. I used level 3 for my legs and level 4 for my bikini line and underarm throughout the treatment.
- Press the hand-held head to the skin and when you hear the beeping noise from the machine, press the button. Alternatively, you can keep the button pressed down and then the machine is ready (beeping) the laser will go off automatically.
- Move to the next spot and keep going. The key is to cover the entire area where hair grows. It may get painful especially where the skin is thin or you reach a bone-y area like your knees.
- After the treatment I like to wipe my skin with a cool damp cloth to sooth the heat and apply an aloe vera gel to soothe any redness or relief any irritations. Honestly, I did not have any irritations whatsoever!
Alright. What we have been waiting for, the results! During the week after my first treatment, I see hair growing back – mostly on my legs. I reached for some tweezers and plucked a few off – some were normal hair growing back that were not zapped, some just came off because they were the ones I shaved off before I used the machine and the hair is loosened from the hair follicle. I didn’t see hair coming back out from my underarm until near the end of the second week. I then did a second treatment 2 weeks after with the same strength. After the second treatment, I started seeing the same thing where hair just fall out where it has been zapped. I did a total of 3 treatments for my underarms, legs and bikini line and I found that the underarm area to be most effective. I think I would need at least another 3 more treatment for my legs because of the area it involves and the amount of hair to be treated. For the bikini line, I think I would need to turn the strength up a notch – maybe 4. But that would mean that it will be quite painful, because the darker the hair, the more painful it will be. So far, my underarm is relatively hair free, but there are the odd ones here and there which is most likely the areas I have missed or the hair growth wasn’t at the right timing when I used the machine.
Overall: If you are strapped with time and hate travelling to the therapist to get it done, then this is a great alternative! Not to mention much more affordable as well! While IPL treatments for legs can cost you at least $130 for each treatment when done at the therapist. You can do this at your own home, or even ask your sister or husband to do it for you! It is easy to use and givesd lasting results. But I would say you will need more treatments to achieve same results as you would by a therapist because they have more powerful machine and they cover areas more thoroughly (I tend to get lazy and tired half way through my first leg).
Remington I-Light Pro+ (latest model) has a bigger treatment window (so it takes less time!) and an infinity bulb so you will never ever have to replace the bulb!
RRP$899.
