Jamberry has partnered with globally renowned nail-art queen, Maria Vlezko from So Nailicious, to create ‘French Twist’ – a bespoke capsule collection reflecting her minimalist yet bold style. The Australian based influencer collaboration showcases Jamberry’s commitment to celebrating nail artists and influencers whilst also keeping on the cutting edge of trends and creating the next generation of wearable art designs.
This French Twist collection is a modern take on a classic nail, with the four-piece collection born from two of Maria’s favourite looks, the classic French manicure and the simplicity of monochrome.
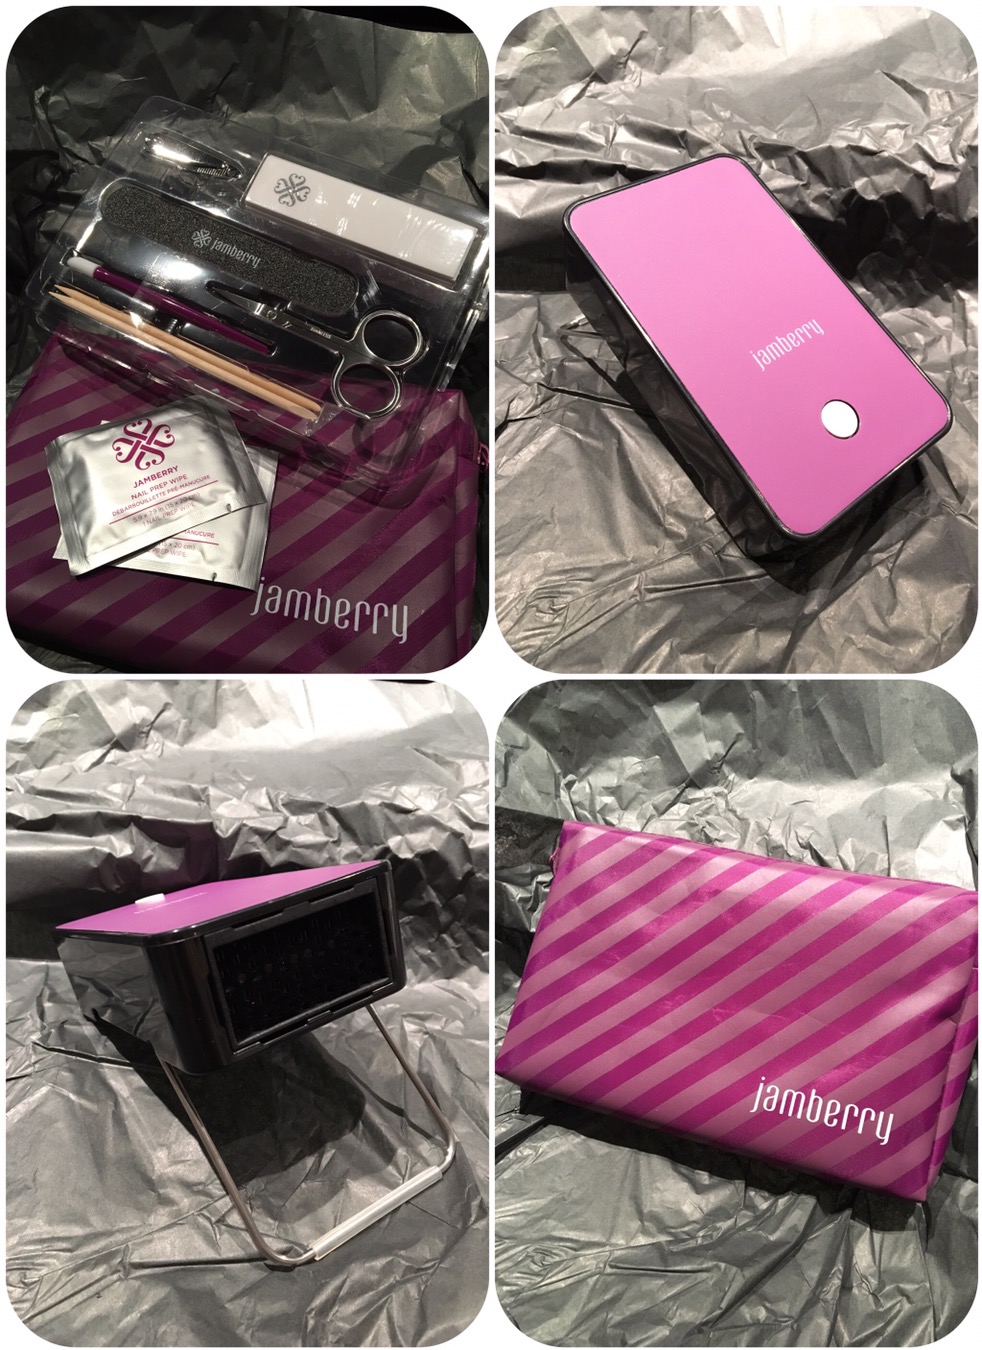
Jamberry manicure set with mini heater
About So Nailicious Founder Maria Vlezko
Born and raised in Europe before relocating to Australia in 2006, Maria Vlezko is the founder and creative director of globally renowned nail blog So Nailicious.
Launched in November 2012, So Nailicious now attracts a following of over 216,739 via the blog and its social media channels making it one of Australia’s most popular beauty sites dedicated to nails. Loaded with nail art tutorials, reviews and interviews with the leading industry experts, the site is a perfect mix of inspirational editorials and practical advice for creative people who like daring manicures and beauty in general.
About Jamberry
After launching in the U.S. in 2010, Jamberry has grown to become a household name in just six years with its easy-to-apply long-lasting nail wraps, salon-quality nail lacquer, gel enamel and hand care treatments.
Jamberry releases two new full collections per year (in March and September) with a impressive portfolio of over 300 nail wrap designs, 50 lacquer, basecoat and topcoat options and an at-home gel kit called TruShine with 14 gel enamel colours. Themed capsule collections are released throughout the year with special holiday and other trend-driven designs.
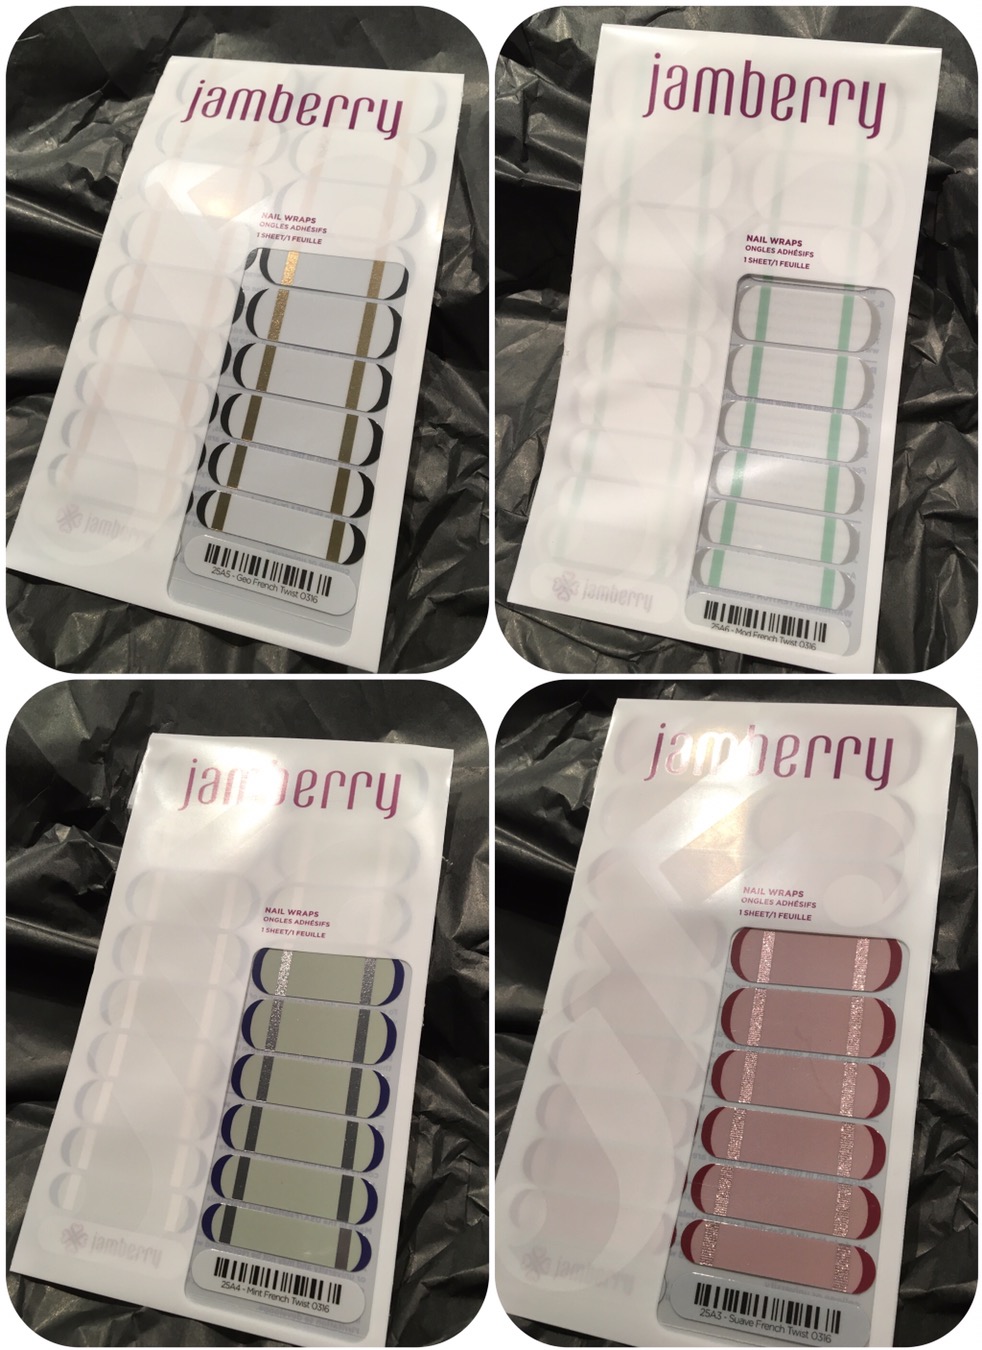
Jamberry X So Nailicious – French Twist collection
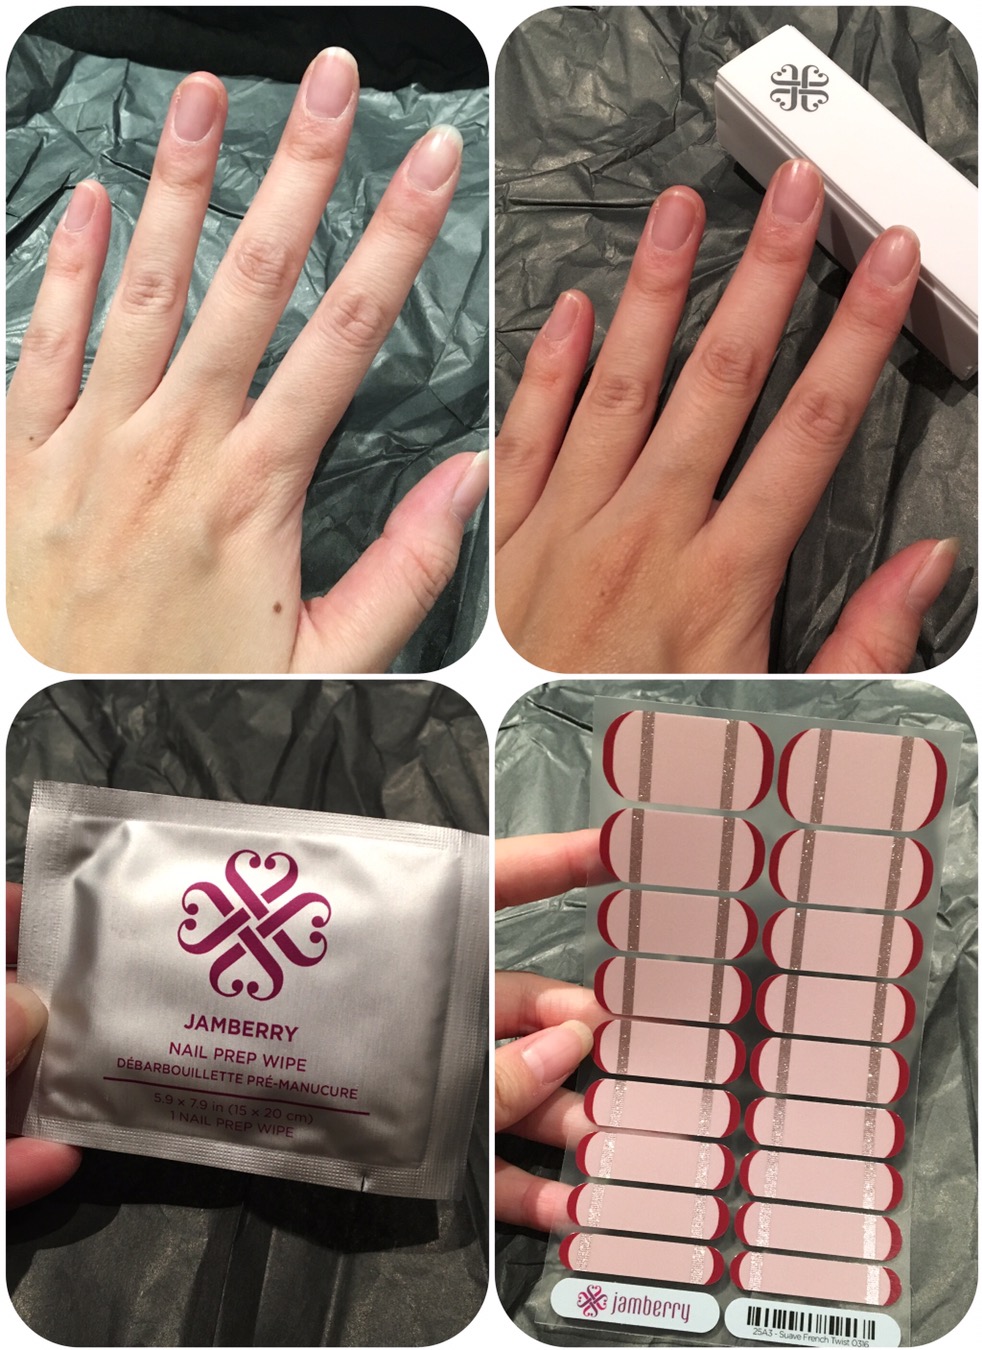
Step 1: Remove any existing nail polish from the nails. I cleaned and prepped my nails with the Jamberry Nail Prep Wipe, then I trimmed my nails to the desired shape. Then I use the fine buff to buff the surface of my nails to ensure it has a bit of grip.
Step 2: I have chosen the style I wanted and obviously one sheet of nail stickers should be able to cover nails and toenails if you wish. I have shorter nails so one set of stickers can last me 2 manicures and I’ll tell you why. Match the size of your nail with the stickers by doing so shown in the photo below, then pick the sticker up with the provided tool or any plastic tool (just becareful not to puncture it), peel it halfway and trim it with scissors (one sticker turns into two!).
Jamberry Nail application
Step 3: I hold the sticker on the tool in front of the heater for about 2-3 seconds and the stick will slightly curl (that’s when you know it is right), then place the nail sticker to the nail bed. Press the sticker from nail bed to the tip, then press it down either side. A good tip is to use the flat side of the applicator tool to press the nail down firmly.
Step 4: Trim off the excess with the rough file or if the sticker is too long, I trim it with the provided nail scissors. I find this the hardest part because the sticker is a bit of the thicker side so it can be a little hard to trim if you don’t have sharp scissors. After trimming, I use the rough file to remove the excess and use the find buffer to smooth out the edges.

Jamberry Nail application
Step 5: Final step is to hold the nail in fromt of the heater for another 3-4 seconds to make sure the sticker is fully adhered onto the nails. Apply pressure again to ensure good adhesion. There we have a nice set of nail design with no dry-time! I can continue on with whatever I want to do without sitting down waiting for my nails to dry and fearing I might ruin them!
Removal: Removal is easy! Just feel the sticker off gently from the edges and if the stickers are too stuck, hold it over the heater for a few seconds and peel off. I have not tried to use a nail polish remover on these stickers for removal simply because it is too time-consuming and I don’t think they work like that?
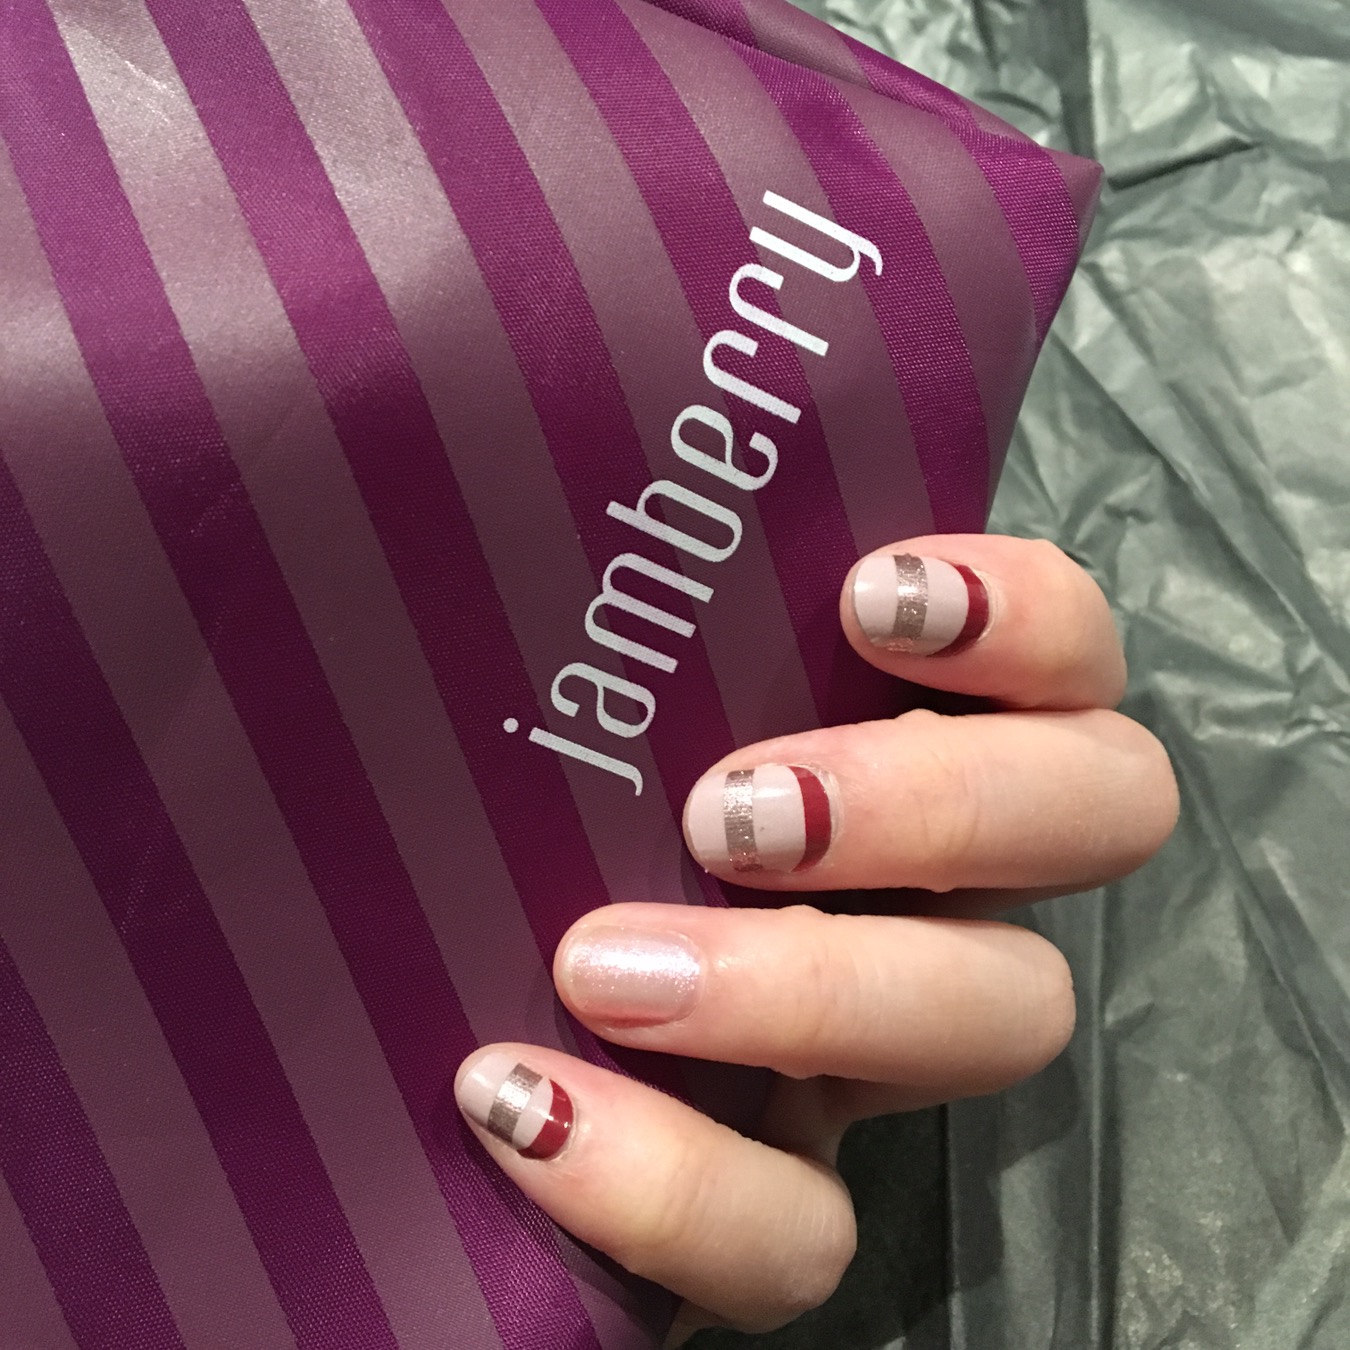
Overall: I have tried previous nail stickers before and these are slightly different to the ones I’ve tried. One set of Jamberry Nail stickers can last me 2 manicures and the actual material of the stickers are much thicker and flexible. They are really easy to apply and doesn’t tear or warp easily. The nail designs by Maria Vlezko is really trendy yet easy to wear. I do have some tips on application:
- Slightly buff the surface of your nails and make sure there is no oil or moisturiser on the nails so that the stickers will have a better surface to stick on.
- Match the nail sticker to the nail by wrapping the unpeeled sticker to the nail. Go for a smaller size if in doubt.
- Trim the sticker with a sharp pair of scissors only slightly longer than your own nail length so that there will be less to file off.
- Try using nail clippers to trim the excess nail stickers before buffing the edges off.
- Use the black buffer to buff any rough edges off to finish the nail off.
So Nailicious x Jamberry French Twist collection is available now from jamberrynails.co.nz, RRP NZ $26 per sheet.
Follow me on Instagram (@kittiemui), Pinterest (@kittiemui), Facebook and Snapchat (@kittiemui)!


