Where I got it
I got this from NZsale a while back for $19.95. You can find these from limited stockists around Auckland, you can find a list of stockists on their website https://www.leminimacaron.co.nz/stockists . These are RRP$69.99, but are on sale on their website for $48.99.
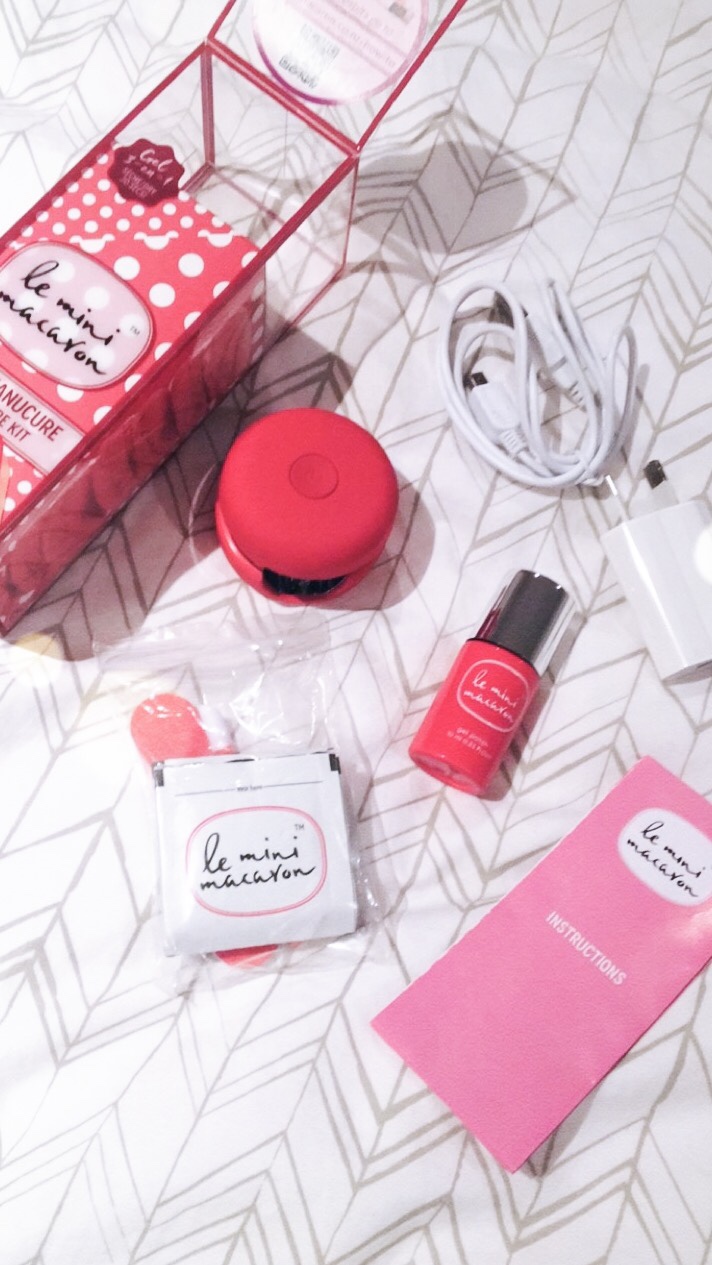
Le Mini Macaron Gel Manicure Set
What I got
This is the Le Mini Macaron Gel Manicure Kit. The below information is from their website:
- Our patented design is fast and powerful, curing 1-step gel polish dry in just 30 seconds
- Very convenient to use anywhere, the USB cord plugs straight into your laptop
- Do your pedicure too – just flip the magnetic top around!
- Our 3-in-1 formula combines base coat, colour and top coat all in 1 bottle. And you don’t even need gel cleanser!
- Get the brilliant shine and chip-free lasting of a salon-quality gel manicure at a fraction of the price!
- DIY your own gel manicure at home with our amazing formula, which dries in only 30 seconds!
- 1-step gel polish lasts up to 7-10 days. For easy removal, buy our soak-off remover pads.
How I find it
This set comes with a little macaron-shaped LED light, a wall charger with cable, a set of cuticle stick and nail file, a 10 pack of nail polish remover wipes and a bottle of gel polish in Cherry Red.
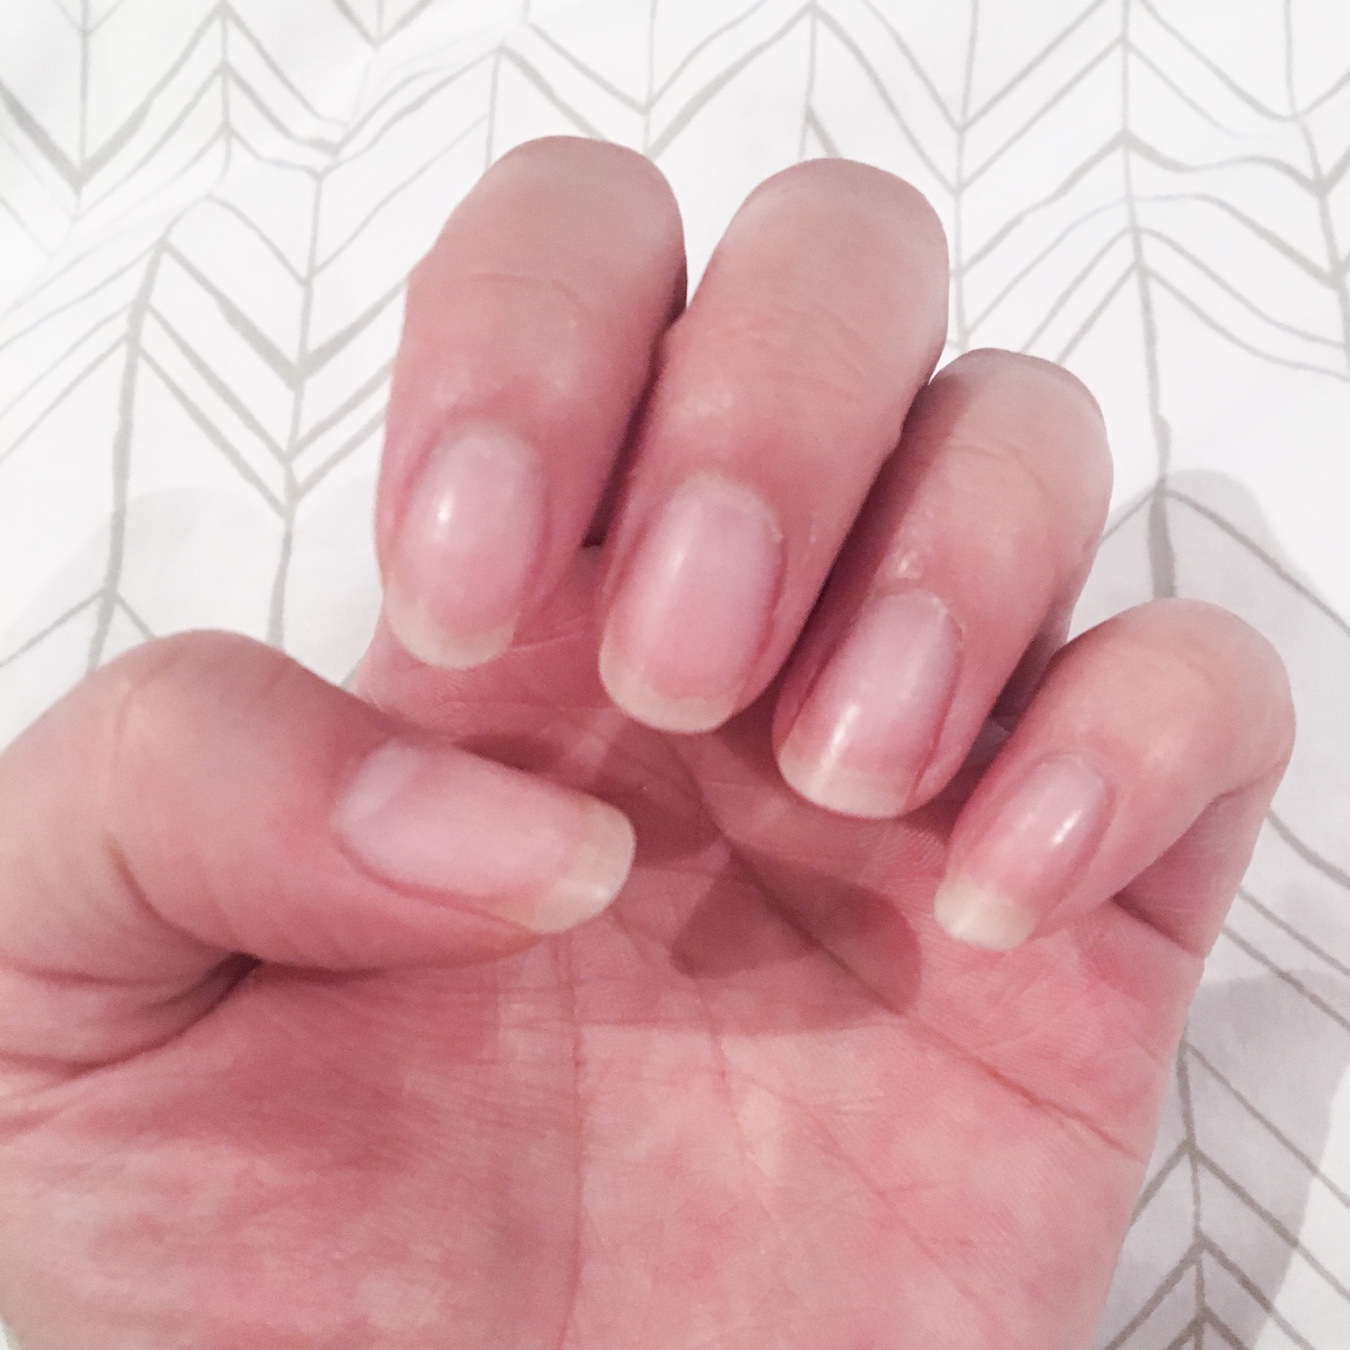
Step 1. Remove all oil from the nail surface. Then, using the nail file, file the nail surface so that the nail has a slightly rough surface. So that the polish will stick to the nail surface. Push cuticles with cuticles pusher if required.
Step 2. It’s time to paint them nails! Plug in the LED light and get that ready for use. Paint 1 nail at a time with very little amount of gel polish. Swirl the brush around the neck of the bottle to remove excess polish. Remove and polish that has gone onto your skin.
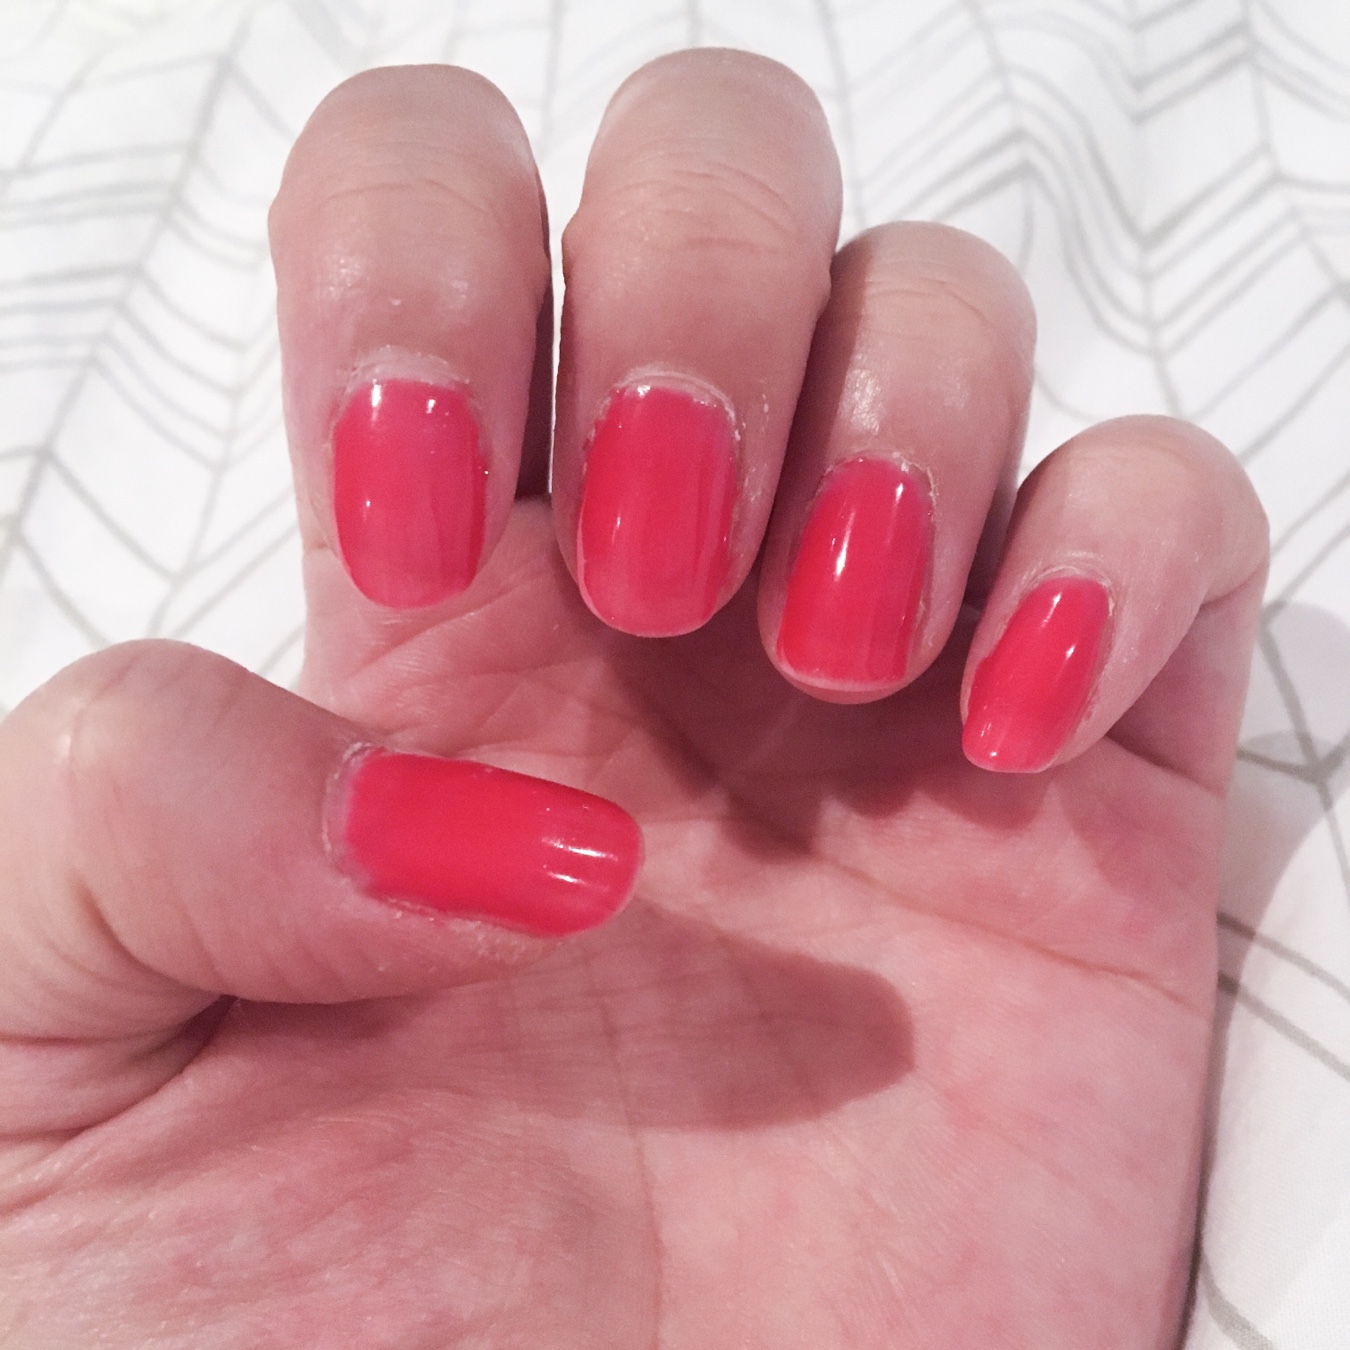
Step 3. Put your finger into the mini macaron with the nail facing up and press the top button. The LED light will be on for 30 seconds and turn off by itself. You might feel a little hot on the nail, that’s because your gel polish layer is too thick. Try a thinner layer next time.
Repeat steps 2-3 for each nail and the first coat is done!
Step 4. Apply an even layer of polish to all nails and put each nail under the light for 30 seconds. Then you are all done! The gel polish is set and won’t smudge at all! It is super glossy and hard as well.
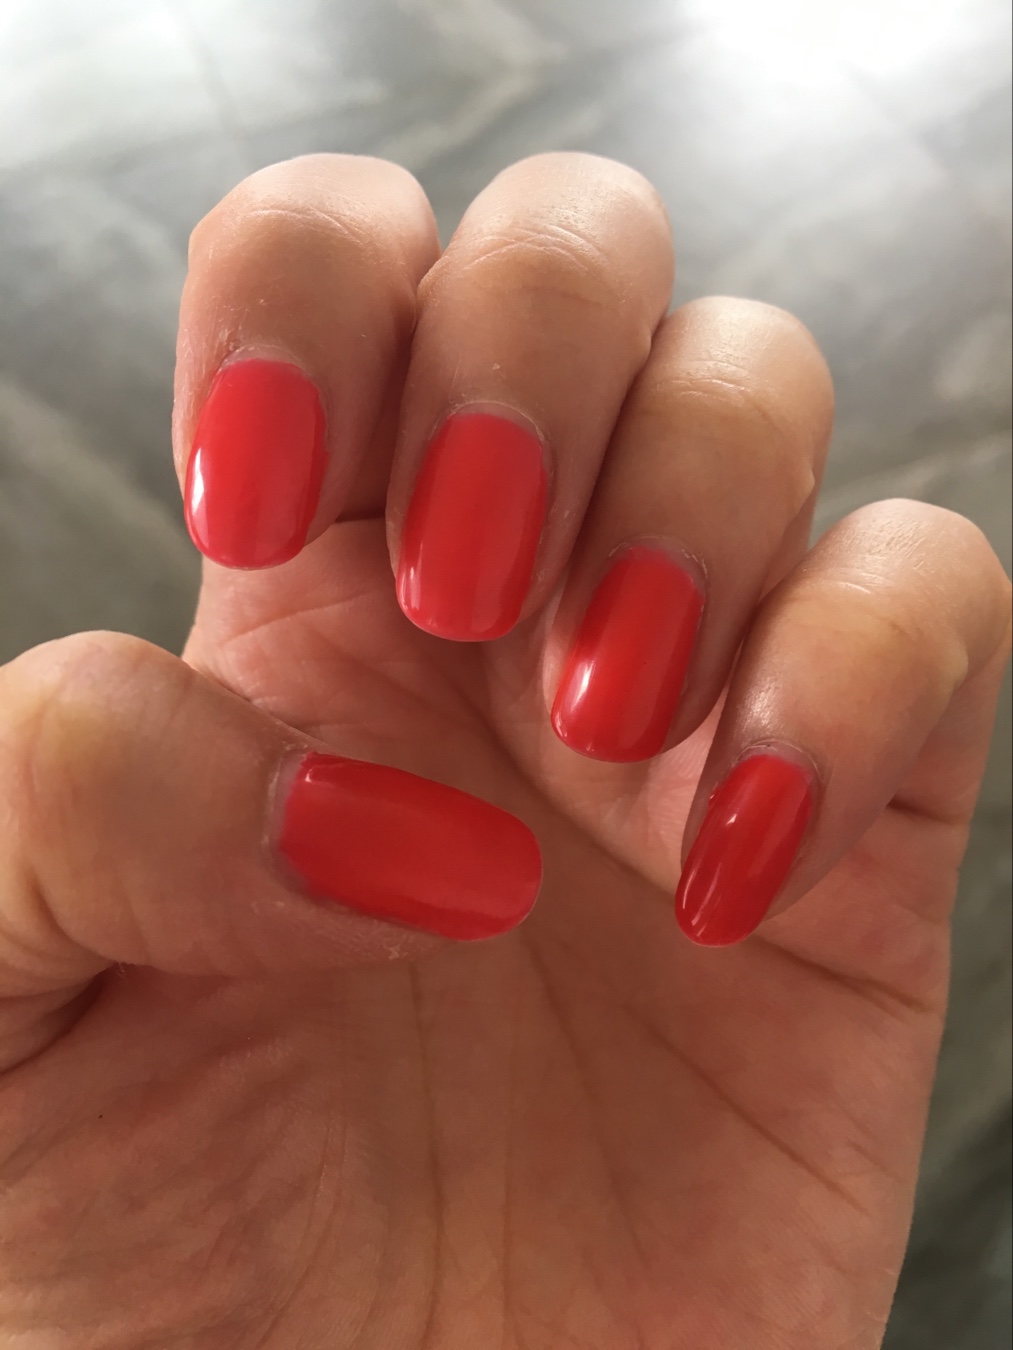
Final result
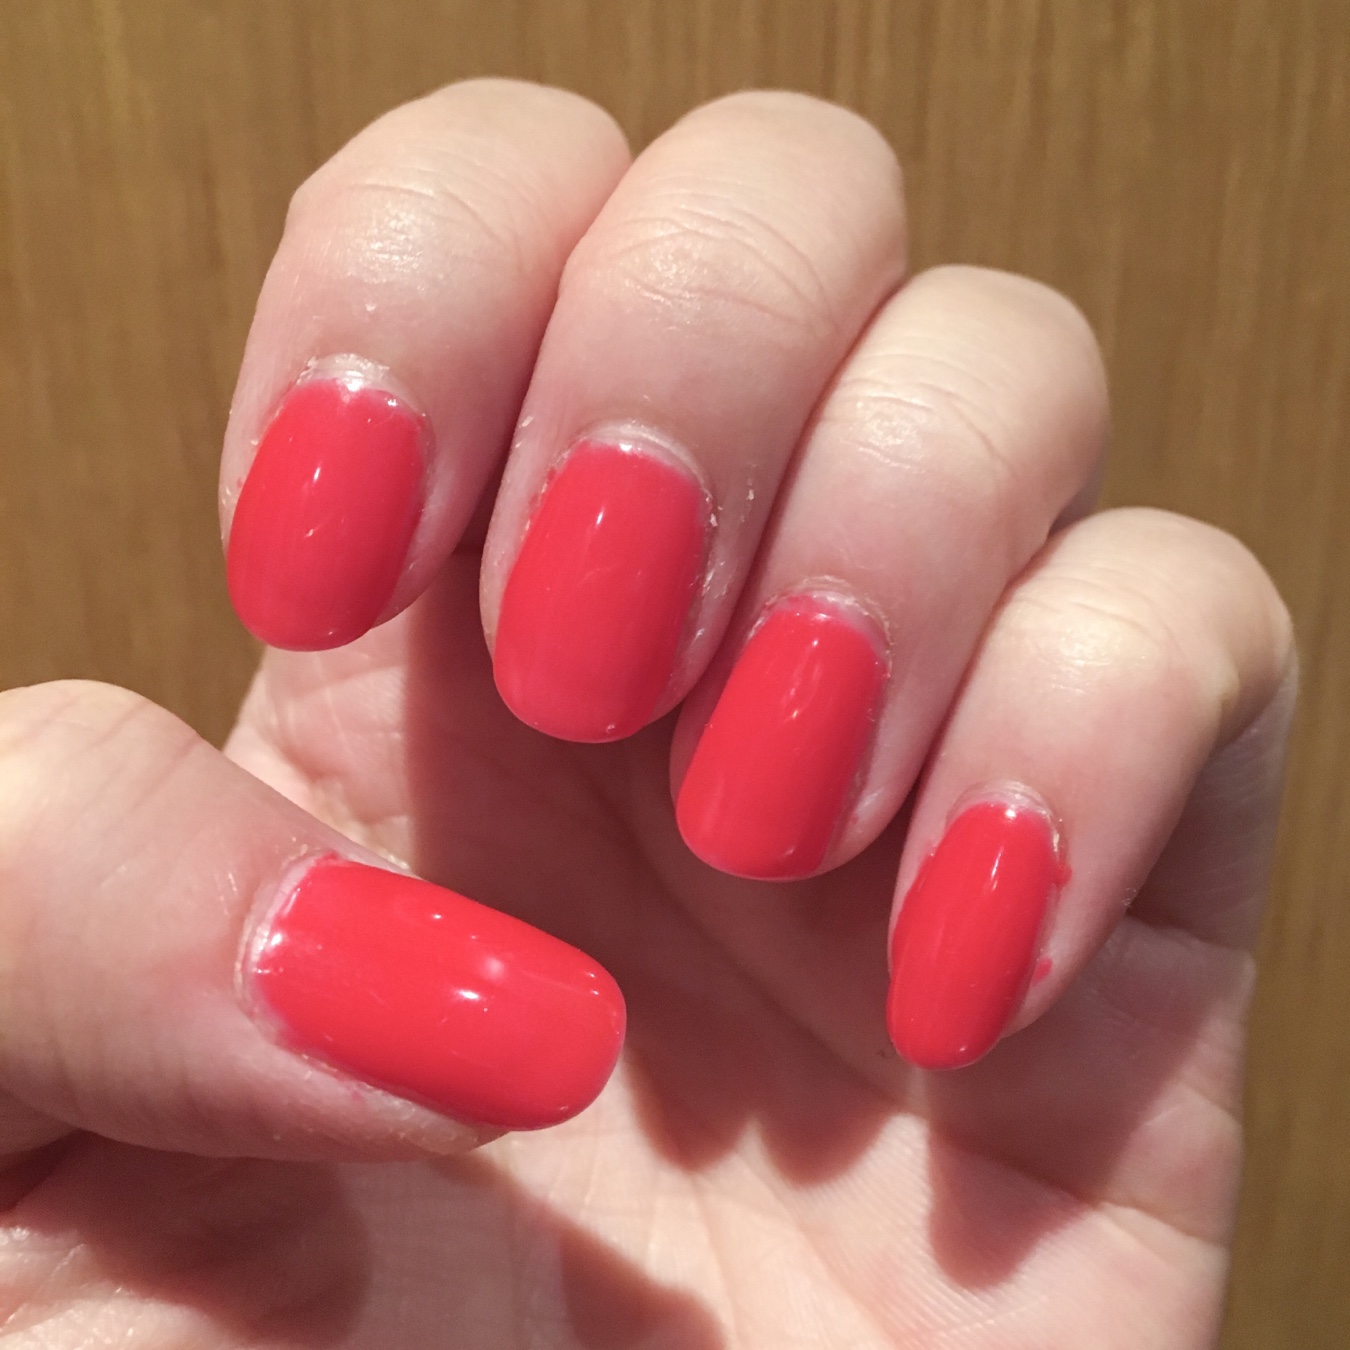
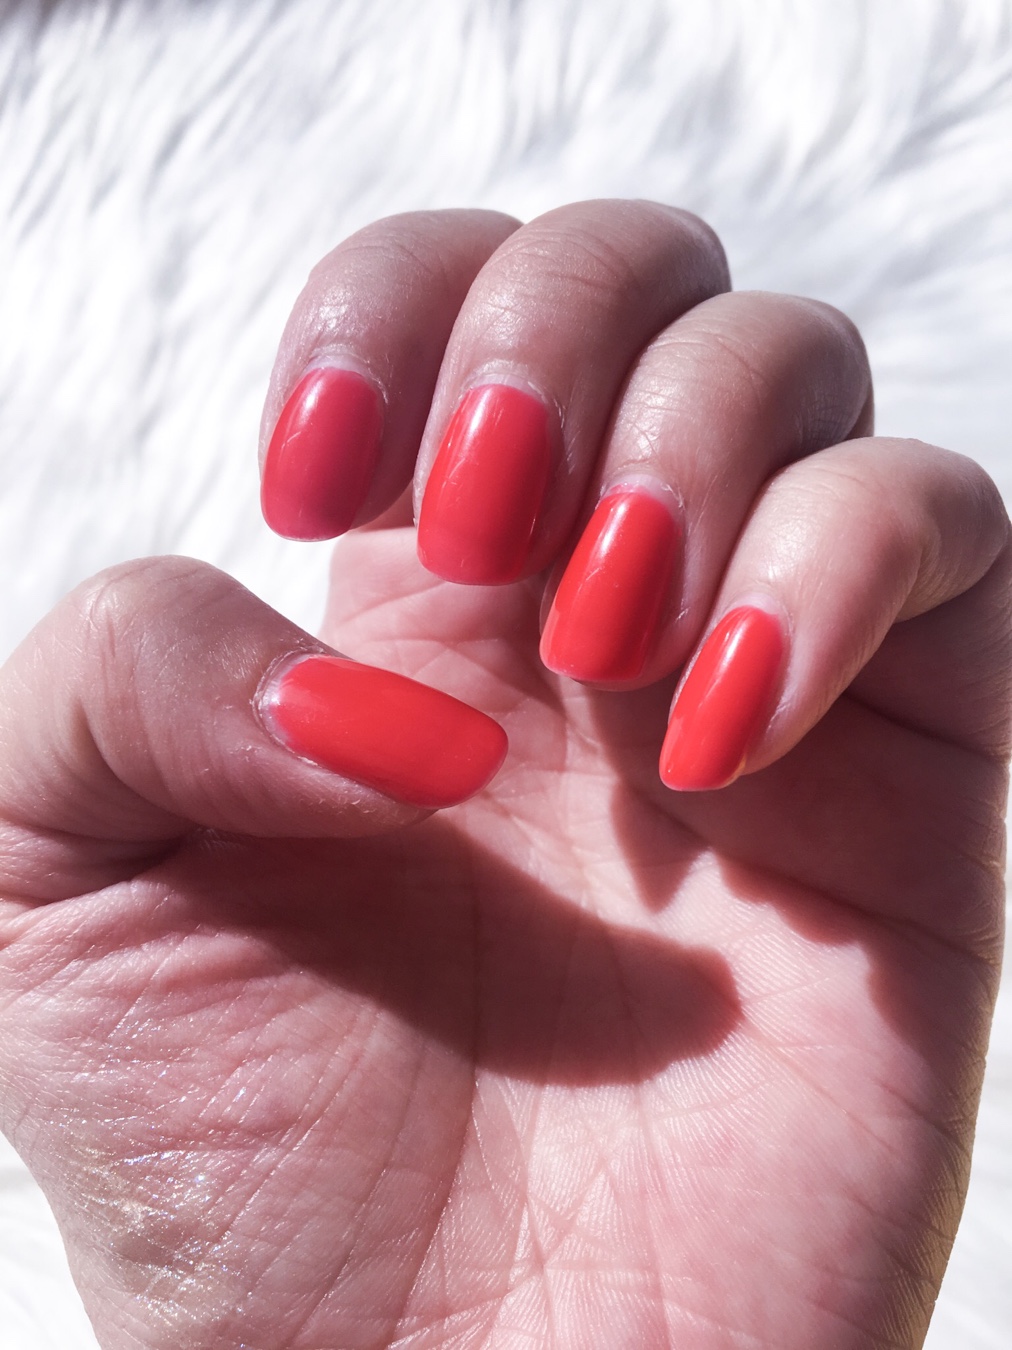
26/12/18- 4th day. I wore these on a family trip for 3 days which involved all sorts of activities and cooking and cleaning up. This is what it looked it the day I got home. Pretty good. No chips at all or dents.
4th day
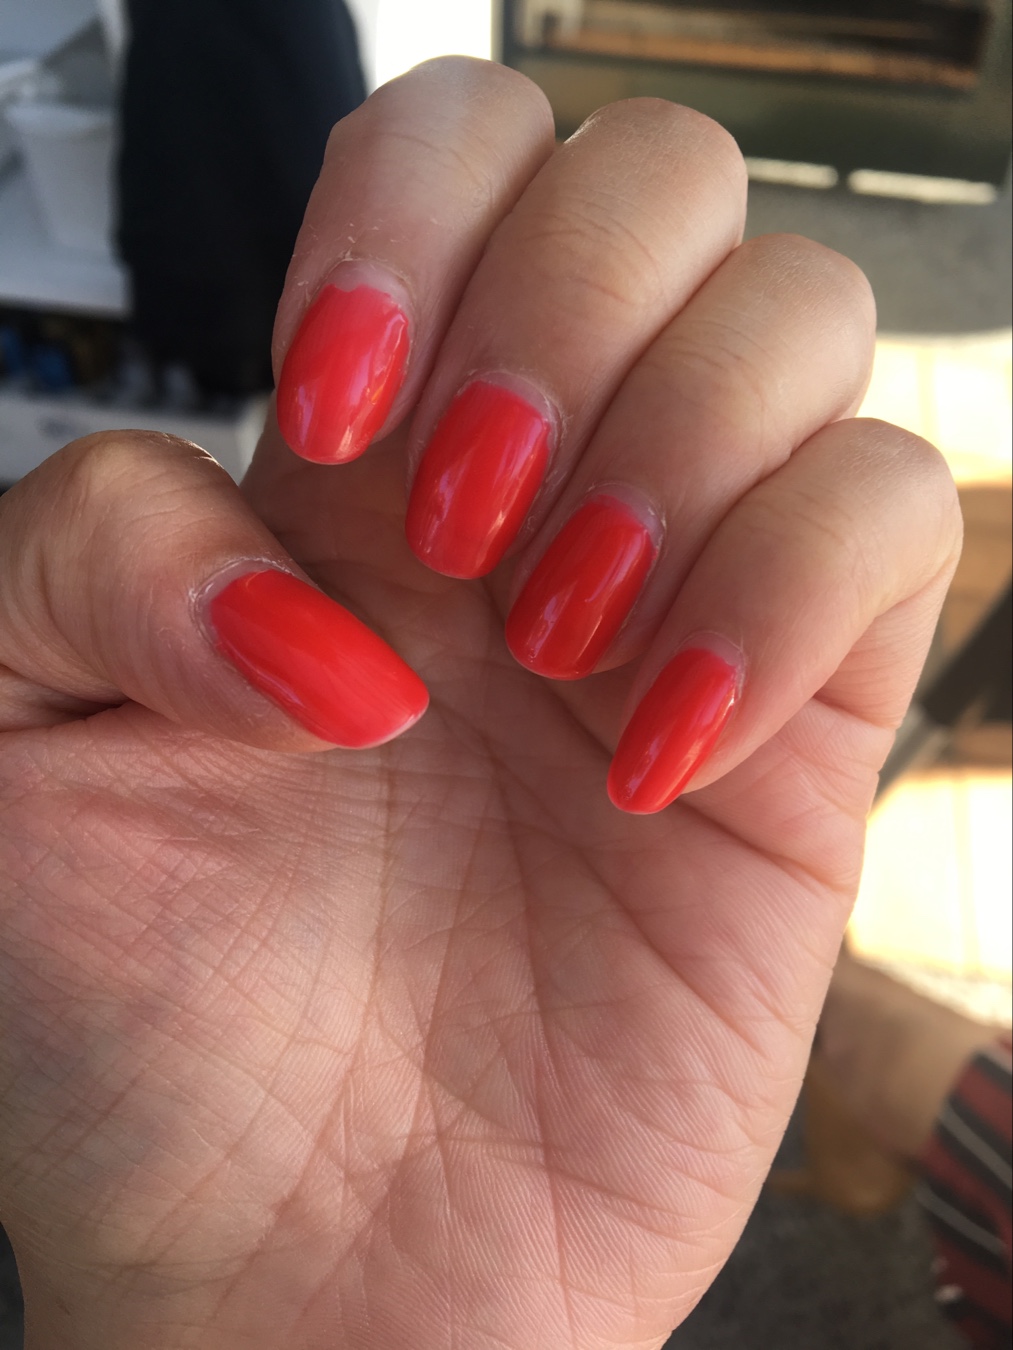
28/12/18- 6th day. I’m starting to see my nail growth which is just normal. I start to see some fading at the tips of my nails which is very faint. There is still no chips or dents on my nails whatsoever. It did lose a lot of its original glossiness.
6th day
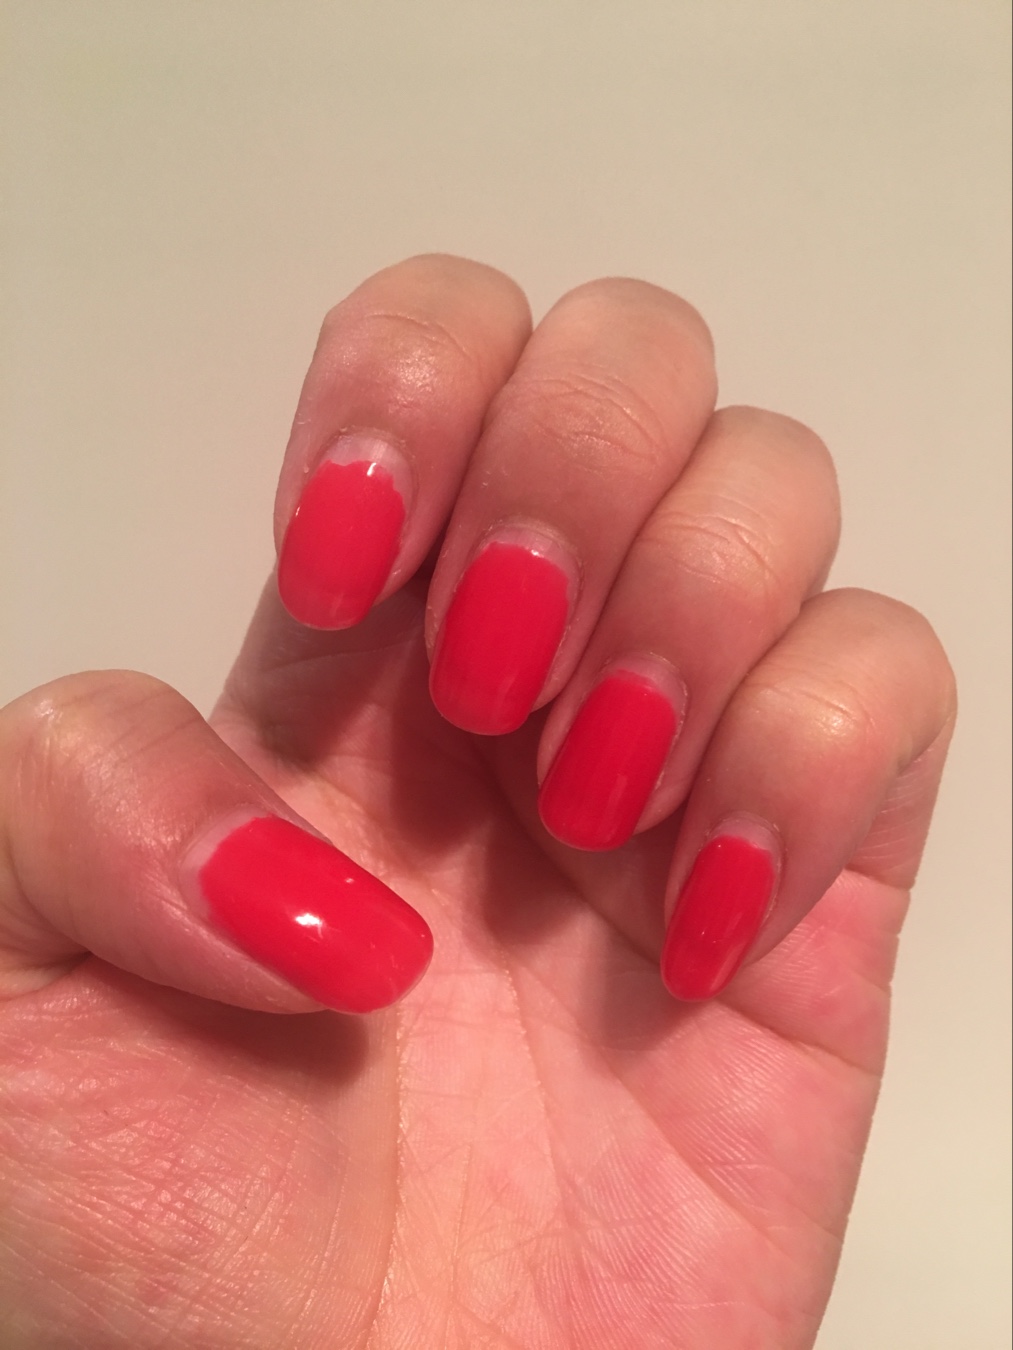
31/12/18- 9th day. Nothing much has changed from day 6. I did all sorts of housework from cooking to washing dishes, washing the kids, laundry, etc. I even went to the pool with the kids. Still looks bangin’.
9th day
4/1/19- 14 days. Finally, I see a chip, but that was because my little two-year-old bit my finger by accident (ouch!). Other than that, the usual fading around the nail tips. I’m so surprised they lasted this long. If it wasn’t that my nails are getting way too long and I needed to trim them, I could keep on wearing these for another week or so until my nail growth made it look too weird.
14th day
Removal time. It was much harder than I had anticipated. The kit came with 10 packs of nail polish remover sachets. Initially, I thought they were just little wipes, but you actually need to tear open the packet, slide your finger in with the wipe on top of your nails. Then you peel off the plastic to reveal the sticky tape, and you wrap the edges of the packet around your finger to create like a little envelope around your nails.
After 15mins, you are supposed to remove them and use the small spatula thingy to dig off the gel polish and remove any remaining with a file. However, things did not go as planned. There wasn’t really enough solution in the little packets, and I didn’t have 15mins spare time to use sit there and wait for my nails. Also, it is practically impossible to wrap all 10 of your fingers by yourself. You would need to do one hand, then your other hand next (which means at least 30mins).
Removal
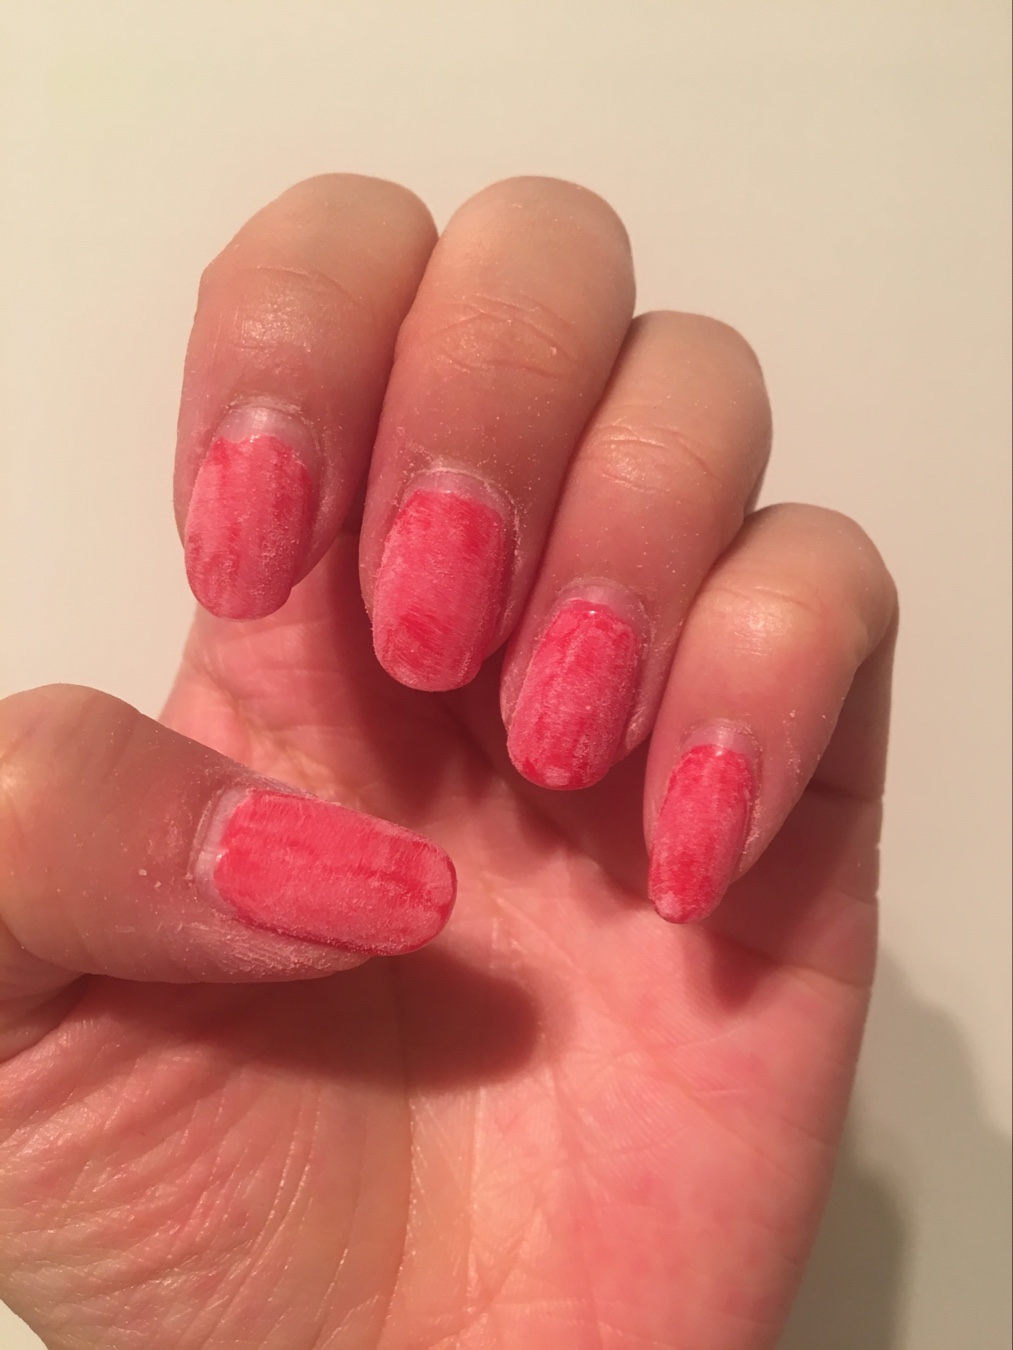
What I did was I bought some acetone nail polish remover, soaked a few cotton rounds and wrapped it around my fingers for about 5-10 mins, and then I took it out and scraped it off and then used the file to get the remaining polish off. It took me a long time and things were messy as well. My nails ended up a little thin after filing. However, my nails did not look stained at all and they looked really healthy.
Overall
The overall experience was average, mainly because the removal of the polish is pretty off-putting. However, I can’t discredit how easy the application was and the longevity of the polish as well. The finished result was immaculate if you take a bit of care to paint your nails and do not let the polish bleed out of the edges. After curing, you can do almost all types of household chores, party, work, etc. and don’t have to worry about your nails! I guess if I were to do it again next time, I would get it removed at a nail salon or something… I would hate to do all that removal procedure again!


